This is an extraordinarily fun craft that can be fun to do with your children, and even if you are adults as well!
So, let’s get down to business on the very basics of how you need to start to make a bubble inside a bubble.
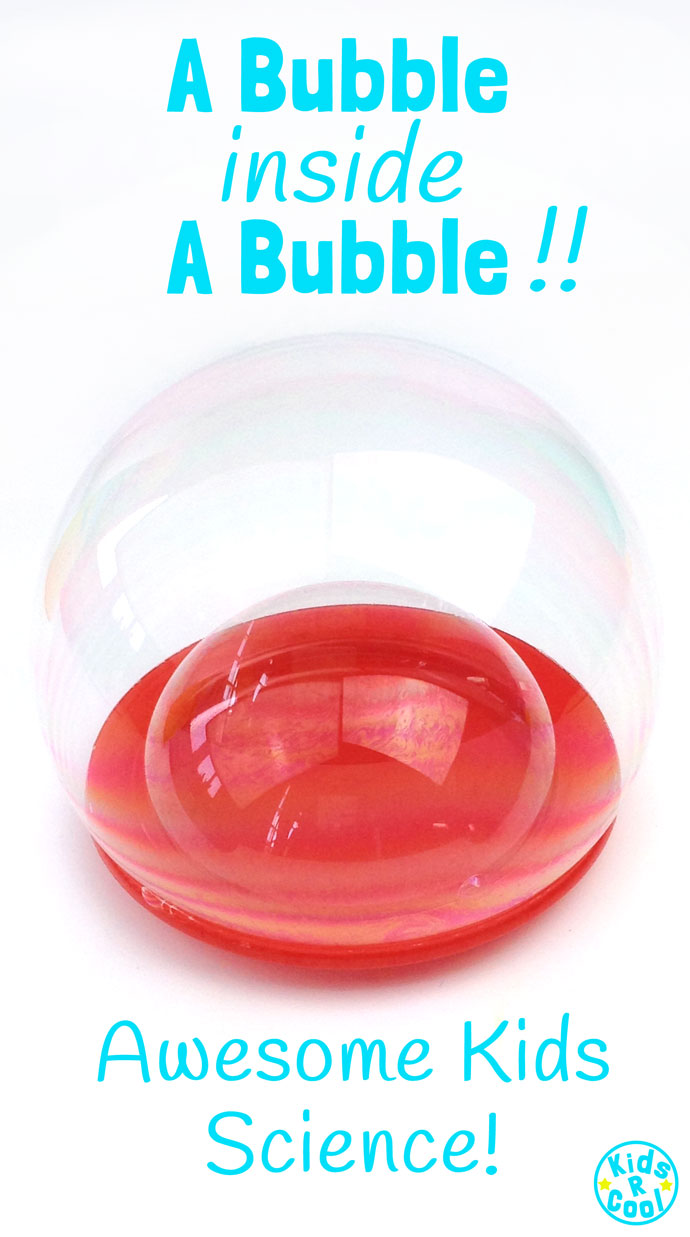
How To Make Bubbles Inside Bubbles
First, you will need a plate, followed by some bubble mix, followed by a straw, and then another plate. (the other plate isn’t exactly necessary, you can not use it.)
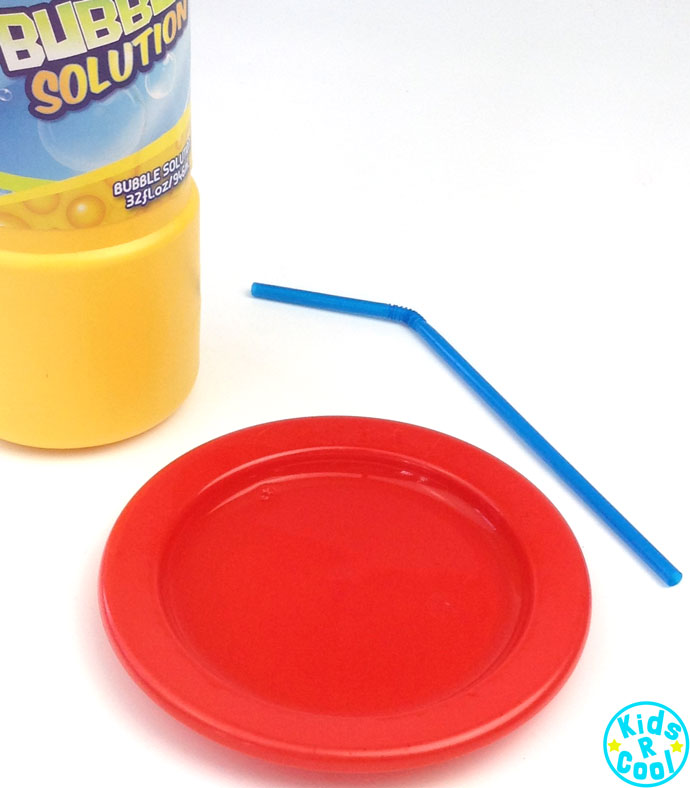
Your first step is to pour about 5 ml; one teaspoon, into the plate, and give it a swirl around with your finger or the straw or just by jiggling the plate around a bit to get it to cover the entire inside of the plate.
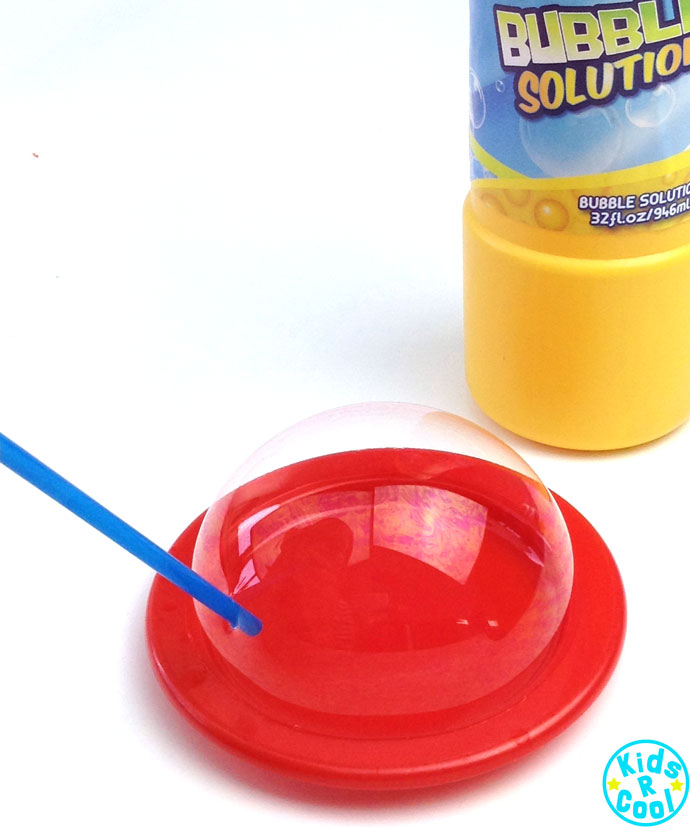
Your second step is to pour another 5 ml into a different plate, or to put the straw on the first plate and blow.
If you choose to pour it into a different plate, dip the straw into the mix, and then blow a bubble that goes to the rim of the plate.
If you choose to just use the first plate, just put the straw in it and then blow gently to create a bubble that goes to the rim of the plate.
Whichever step you choose for this, you will end up with the same result.
Now it’s time for the trickier bit! Are you ready?
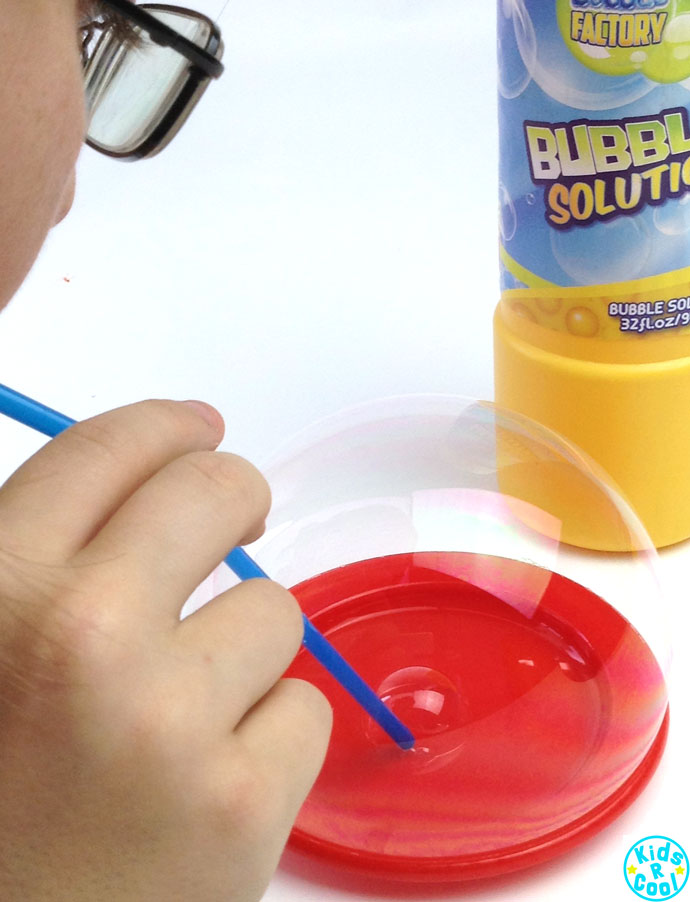
So, you’ll need to try to get the straw inside, pushing down from the top of the bubble. You then blow so that the bubble covers the entire inside of the plate.
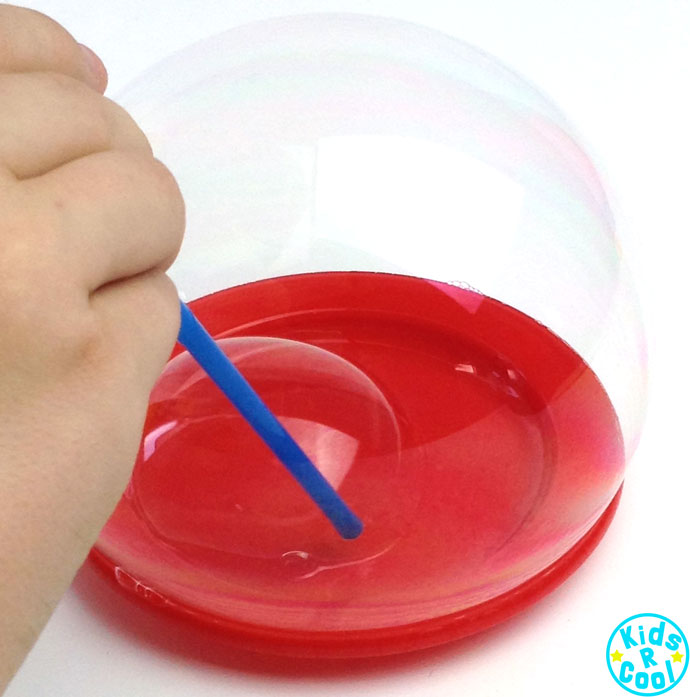
This is an easy way to get 2 bubbles without any way of touching each other, and you can then try to possibly make something like a cool pyramid-like structure to do 6 or 10 on! You could just try the basic way, and try to get as many possible inside the one big one as you possibly can. My record is 4, but the world record is way ahead at 15! Go ahead, see if you can try it!
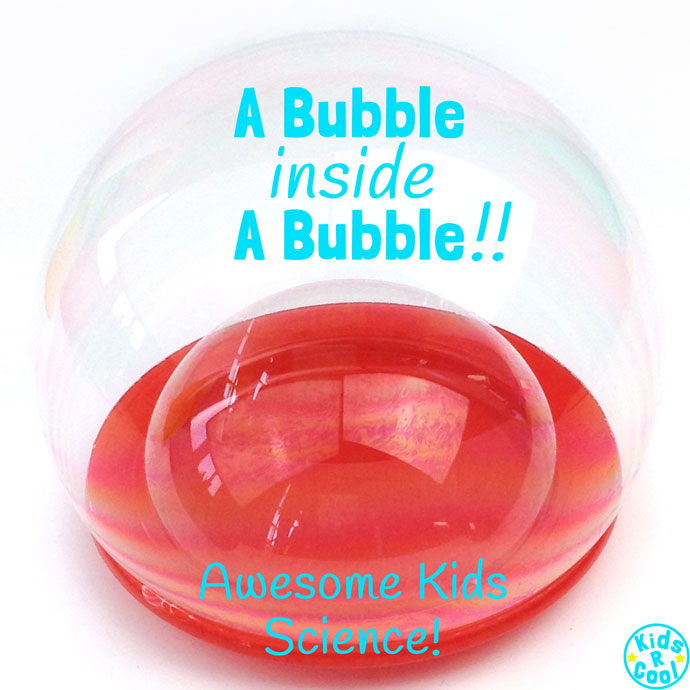
Also, that’s how to make a bubble inside a bubble! (or if you’re adventurous, a bit more than one!)
If you’d like to watch the video, please watch it below!
Thanks for reading!
~Smithy~ Creator of KidsRCool
Leave a Reply